
Most washer leaks boil down to a handful of culprits: loose or cracked hoses, worn door gaskets, clogged dispenser paths, failed pumps, and perished seals. Before touching anything, unplug the washer (or switch off the breaker) and turn off the water supply valves; water plus electricity is never a good mix. Mop up standing water so you can see fresh drips, then run a short test cycle while observing. Keep in mind that some “leaks” are actually drain standpipe overflows or splashes from over-sudsing—misleading symptoms that look like appliance failure. If at any point you feel uncertain, an experienced tech can sort this out quickly; NYC residents often choose same-day washer leak service in NYC to minimize water damage.
Immediate steps to take when you notice washing machine leaking water
Kill power and water, contain the spill with towels, and protect nearby furniture or baseboards. Slide the machine forward a few inches to check the wall connections without straining the hoses. Place a dry paper towel under each suspect area (front of the door, below the pump access, behind the machine near hoses). Paper darkens where new drips land, giving you a quick trace without special tools. Photograph what you see—wet patterns, rust tracks, soap residue—because these clues vanish fast after cleanup. If water is still actively spreading, crack open the drain pump filter (front-loaders) into a shallow pan to empty the tub and stop the drip.
Book Online and Save $25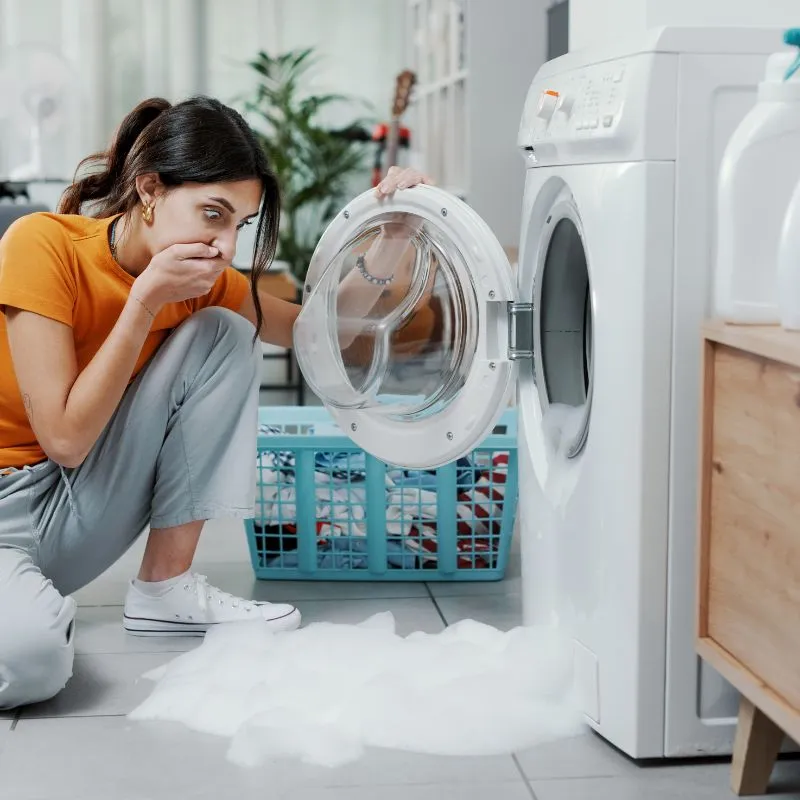
How to pinpoint the source of a washing machine leaking water (top-down method)
Start high and move low. Inspect the wall faucet connections and inlet hoses first, then the machine’s rear inlet ports and detergent dispenser area, then the door gasket (front loaders) or rim under the lid (top loaders). From there, remove the bottom kick panel (or tilt the unit slightly—carefully—to look underneath) and watch the pump, tub-to-pump hose, and drain hose during a quick fill/wash/drain test. The idea is simple: water rarely travels upward; gravity leaves trails. Soap residue often marks the flow path, and dried mineral stains point to slow, long-term seepage rather than sudden failures.
Washing machine leaking underneath — common causes and fixes
Leaks from below usually involve the drain pump housing or seal, a fatigued tub-to-pump hose, a loose clamp, or a failing main tub seal (outer tub). Less common but very real: a pinhole in the outer tub, especially if a bra underwire or screw went rogue. A cracked pump body leaks mostly during drain; a bad tub seal weeps during agitation and spin; a loose clamp can leak across all phases but worse when flow is highest. Fixes range from reseating clamps and replacing hoses to swapping the pump assembly. If you find oil-tinged water, that hints at a bearing issue and potential seal failure, which is more advanced.
Top reasons for a washing machine leaking underneath during fill, wash, and spin
| Cycle Stage | Likely Causes | Quick Checks | DIY Difficulty |
|---|---|---|---|
| Fill | Loose/cross-threaded inlet hoses, cracked inlet valve body, dispenser drawer overflow, misrouted fill hose to tub | Paper towel at rear ports; watch dispenser area for run-off; verify hose washers and O-rings | Low |
| Wash/Tumble | Front-load door gasket nicked or twisted, outer tub seam seep, tub-to-pump hose pinhole, clamp slippage | Inspect gasket lip and weep holes; squeeze hose for soft spots; look for soap tracks under tub ring | Low–Medium |
| Drain/Spin | Drain pump shaft seal leak, cracked pump housing, split drain hose, standpipe backing up | Run a drain-only; watch pump area; test standpipe by pouring 2–3 gal of water directly into it | Medium |
How to fix a washing machine leaking underneath: pump, tub-to-pump hose, and seals
For a pump leak, unplug the unit, bail out remaining water, remove the lower panel, and check the pump body for hairline cracks or rust trails; if the leak comes from the shaft area or the housing seam, replace the entire pump assembly rather than trying to reseal it. For the tub-to-pump hose, feel for soft or blistered sections and replace the hose if any damage is found; re-use clamps only if they bite firmly without distortion. For main tub seals, confirm by spotting water at the bearing hub during wash or spin; replacement generally requires significant disassembly and, on many models, splitting the tub—work best left to a professional.
When a washing machine leaking underneath means it’s time to call a pro
Call in help if you see continuous drips with power off (indicating a valve body crack), if the outer tub appears compromised, if you hear grinding from the bearing during spin, or if the cabinet shows extensive rust. These usually aren’t quick Saturday fixes and can get expensive if misdiagnosed. In New York City, it’s common to schedule a local washer technician in NYC for tub seal work or complex leaks—preventing repeated water damage and unnecessary parts swapping.
Washer leaking from door seal (front-load gasket issues)
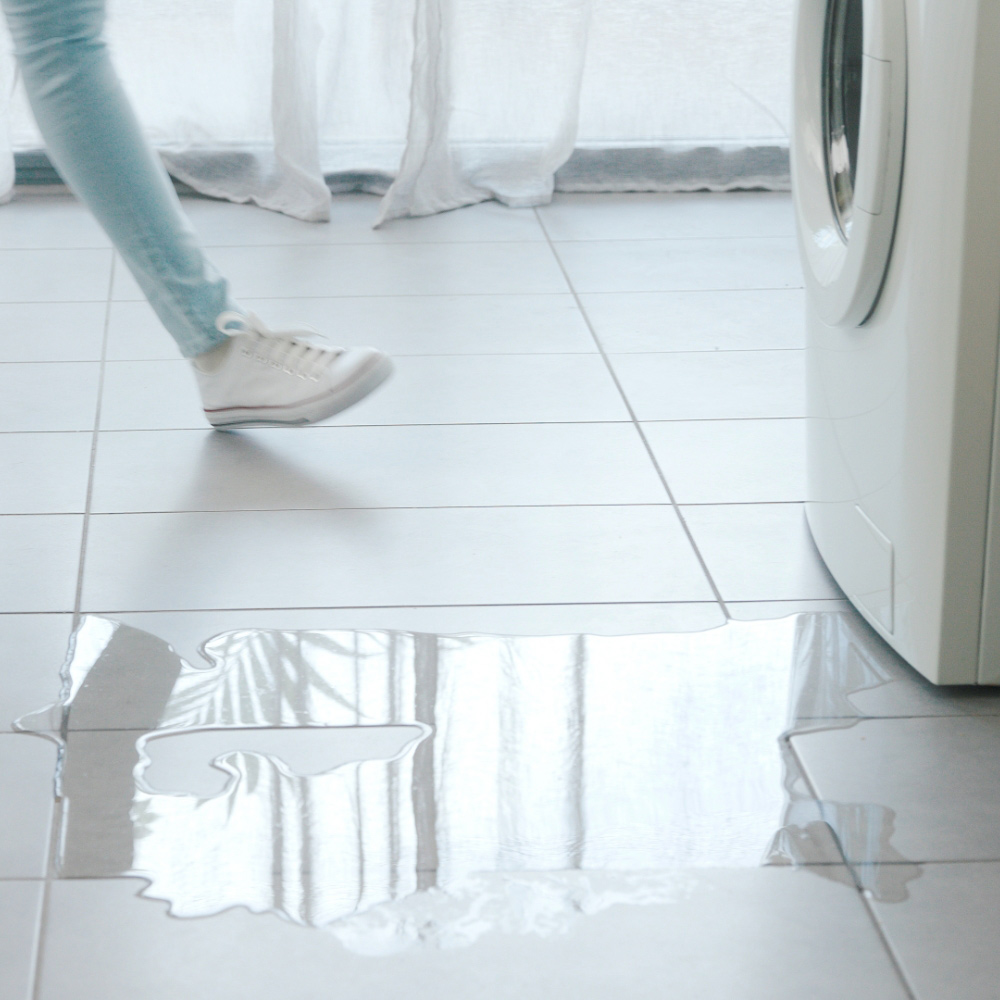
A front-load gasket must make a uniform seal while channeling small amounts of water back into the tub through its weep holes. Debris, detergent cake, and physical tears break that system fast. If you see trails at the 6-o’clock position, suspect hair, lint mats, or coins trapped in the fold; if the leak comes from the sides, look for a twisted gasket lip or a gap from misalignment.
Main causes of a washer leaking from door seal: debris, tears, misalignment
Debris blocks the drain paths and forces water outward. Tears (even 1–2 mm) allow splash leaks under high drum speed. Misalignment can happen after moving the machine or replacing hinges/latch parts. Recurrent leaks after cleaning usually mean a hidden nick that only opens during spin or when a heavy item presses the gasket.
DIY: clean and restore a washer leaking from door seal
Pull back the gasket lip gently and remove debris with a microfiber cloth. Clean with warm water plus a little dish soap (avoid petroleum solvents). Use a bottle brush through the weep holes to restore drainage. Dry thoroughly and run a short rinse cycle to test. If water beads at the same edge, re-seat the gasket by easing the lip evenly against the drum face; make sure the inner spring clamp sits flat without twists.
Replace the gasket: parts & steps for a washer leaking from door seal
Order the exact model gasket (part numbers vary). Remove the outer retaining band, peel the old gasket, transfer alignment marks, seat the new gasket starting at 12 o’clock, then fit the inner spring clamp, followed by the outer band. A thin film of liquid soap helps the lip slide into position. Do a rinse/spin test with the front panel still accessible so you can verify no weeps before buttoning up.
Washer water leak from hose — inlet & drain line problems
Hoses age out. Rubber hardens, braided stainless can hide internal damage, and cheap clamps loosen with vibration. Inlet leaks show during fill and may persist slowly between cycles. Drain leaks usually appear during pump-out or when the standpipe is blocked, sending water back onto the floor. Always check both ends: the wall side and the appliance side.
Diagnose a washer water leak from hose: cracks, loose clamps, bad O-rings
Disconnect and inspect under good light. Look for bulges near ferrules, hairline cracks, or flattened O-rings inside the couplings. If you can rotate a hose by hand while it’s “tight,” it’s not sealing properly. Replace suspect hoses in pairs so service life is predictable.
Replace parts to stop a washer water leak from hose (inlet hoses, drain hose, clamps)
Use new high-quality hoses with fresh rubber washers; hand-tighten then give a modest additional snug with pliers—do not overtighten. For drain lines, ensure a smooth bend radius with no kinks and secure with a proper clamp, not tape or zip ties. If your standpipe is shallow or undersized, leaks may be plumbing, not appliance—get that corrected to avoid recurring floods.
Prevent a washer water leak from hose: routing, strain relief, and maintenance
Route hoses so they don’t rub on sharp cabinet edges; add sleeves or grommets where needed. Keep 4–6 inches of slack to relieve vibration stress. Replace rubber inlet hoses every 5 years (braided can go longer, but still inspect annually). Label the install date with a marker—future you will thank you.
Washer front load leaking — model-specific troubleshooting
Different brands route water differently. Some push a lot of rinse through the dispenser; others rely on internal siphons. Check your manual’s dispenser diagram and gasket profile if you can. If the unit has a service mode, spin the pump and valves individually to see exactly when drips appear—this narrows the culprit in minutes.
Over-sudsing & HE detergent mistakes causing a washer front load leaking
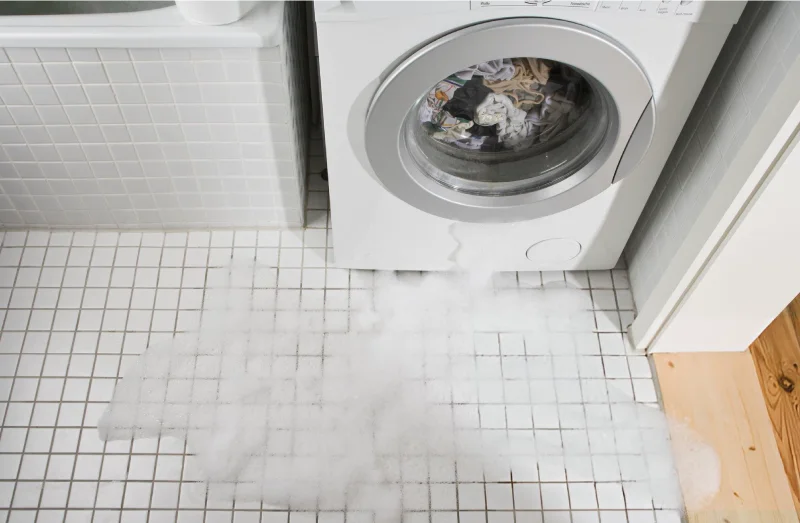
Too much HE detergent, or using regular detergent in an HE machine, creates foam that climbs and spills through vents or the door. Use the “2-finger” rule: if foam reaches the door glass mid-cycle, it’s too much. Run an empty rinse cycle with a cup of white vinegar to break residual suds, then reduce your dose by half and test again.
Leveling, vibration, and door latch issues behind a washer front load leaking
If the washer rocks, the drum can slap the gasket and open a micro-gap. Level the feet so the cabinet is stable corner-to-corner; lock the jam nuts. Inspect the door latch strike—if misaligned, it can twist the door and compromise the seal, especially with heavy loads pressed against the glass during spin.
Dispenser drawer overflow: hidden trigger of a washer front load leaking
Detergent cake and fabric softener gel restrict flow in the drawer, causing water to overflow the tray and run down the front. Pull the drawer, soak it, and scrub the internal channels. Ensure the siphon caps seat firmly; a missing or mis-seated cap will constantly dribble.
Cycle-based diagnosis: when your washing machine leaking water only happens sometimes
Track exactly when the leak appears: during fill, wash/tumble, or drain/spin. Use the table above to match the timing to likely parts. Intermittent leaks often correlate with load type (bulky bedding splashing the door) or with dispenser usage (softener-only cycles leaking at the drawer). Consistent timing equals a specific part; random timing suggests vibration or plumbing overflow.
Leaks during fill (valves, inlet hoses, dispenser routing)
Focus on the rear inlet ports, valve body, and dispenser tray. Tighten connections, replace flattened hose washers, and clean the drawer channels. If a valve weeps even when off, it’s cracked or internally leaking—replace it, because tiny fractures become big floods.
Leaks during wash/tumble (gasket, tub seal, outer tub)
Examine the gasket edge for shiny wear tracks or small nicks; water follows those scars. For tub seals, look for droplets forming at the shaft hub. If you see dampness along a tub seam, dry it completely and retest; if it returns, plan for a seal or tub repair.
Leaks during drain/spin (pump, drain hose, standpipe)
Turn on a drain-only function and watch the pump. Drips from the pump body or its seam mean replacement. If water erupts from the standpipe, call a plumber—the washer is innocent, the drain is not.
Tools, parts, and prep checklist
You’ll work faster with needle-nose pliers, a nut driver set, channel-lock pliers, a flashlight or headlamp, a shallow pan, towels, new hose washers, quality worm-gear clamps, and—if replacing parts—a model-specific pump, gasket, or valve. Clear a 3-foot perimeter so you can move safely, and photograph each step for reference during reassembly.
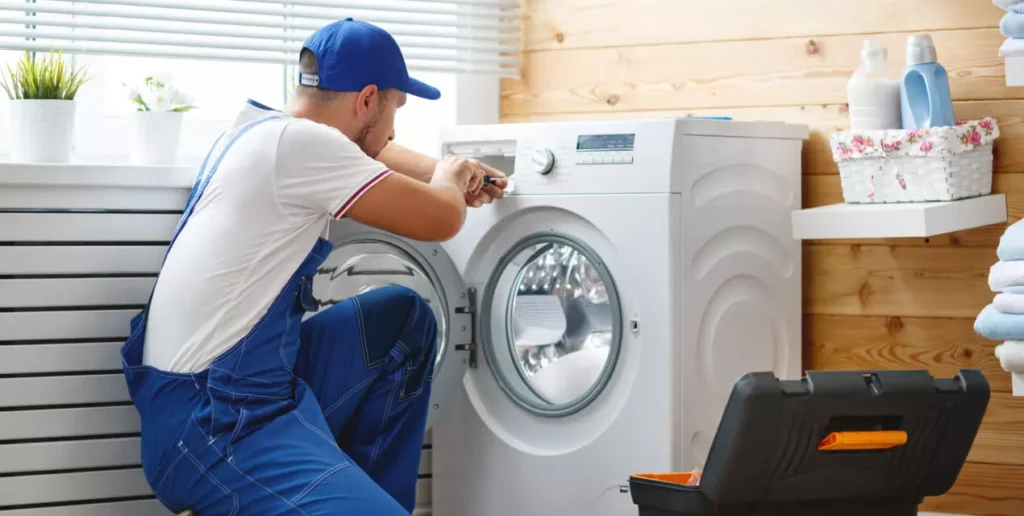
What you’ll need for hoses, gaskets, and pumps
Inlet hoses (preferably braided with new washers), a replacement drain hose if brittle or kinked, OEM or high-quality aftermarket door gasket, a complete pump assembly with new seal, food-grade silicone for gasket seating (sparingly), and a marker to note install dates. Keep a microfiber cloth handy to spot fresh drips during testing.
Safety gear and workspace setup
Wear cut-resistant gloves, safety glasses, and closed-toe shoes. Use a low tray or baking sheet to catch residual water. Keep a small fan going to dry the floor quickly; slipping on suds is an easy way to turn a simple repair into an injury.
Preventative care to avoid future leaks
Once fixed, prevent repeats: use the right amount of HE detergent, clean the gasket monthly, empty pockets religiously, and replace hoses on schedule. Ensure the unit sits level and doesn’t walk during spin; vibration loosens clamps and fatigues hoses over time.
Monthly routine for front-load gaskets (stops washer leaking from door seal returning)
Wipe the fold, clear the weep holes with a soft brush, leave the door ajar after washes, and run a hot maintenance cycle with a washer cleaner or a cup of white vinegar. This keeps slime and grit from undermining the seal.
Hose lifespan & replacement schedule to prevent a washer water leak from hose
Inspect annually; replace standard rubber every 5 years and braided every 7–8 depending on use. Any bulge, rust stain, or flattened O-ring calls for immediate replacement. It’s a cheap insurance policy compared to floor repairs.
Installation best practices to avoid a washing machine leaking underneath
Use proper strain relief for hoses, maintain a gentle bend radius, avoid stacking heavy storage directly on top of the hoses, and confirm the standpipe height meets code so backflow can’t occur. After installation, run a full cycle and physically check all joints for seepage—don’t trust “hand-tight” alone.
Typical DIY vs. pro repair costs for washing machine leaking water
Ballpark figures vary by model and region, but as a rough guide: hose and clamp sets are inexpensive; door gaskets land in the mid-range; pump assemblies cost more but are still manageable; outer tub seals and bearing jobs can exceed the value threshold on older units. Always compare repair cost to the appliance’s age and efficiency; a well-maintained, mid-life washer is usually worth fixing.
Warranty considerations and service call tips
Check manufacturer and retailer warranties before buying parts. Document leaks with photos and note dates; techs appreciate good history, and warranty departments do too. Clear access to the unit, have your model/serial ready, and mention any odd noises or error codes—this shortens diagnostic time and can reduce labor charges.
FAQ
Is it safe to run a washing machine leaking water?
Generally no. Water can reach electrical components and create shock or short risks. Diagnose first or get help.
Can a washer leaking from door seal damage subfloors?
Yes—slow, repeated gasket drips soak finishes and subflooring. Fix promptly and dry the area thoroughly.
What’s the fastest fix for a washer water leak from hose?
Replace the suspect hose and its washers, tighten correctly, and test on fill and drain. It’s quick, inexpensive, and resolves a large share of leaks.
Prefer a guaranteed repair? Book professional washer leak repair in New York City to stop the leak, protect your floors, and get back to laundry with confidence.